


Warehouse layout Racking System: Space-Optimized vs. Worker-Optimized
- 21/10/2024
- Posted by: macgad-admin
- Category: Racking System
How to Optimize a Warehouse Layout: Space vs. Worker Efficiency
The statement, “As long as there are racking systems in my warehouse, everything will run smoothly,” may provide a sense of comfort, but it oversimplifies a complex issue. A warehouse layout determines how storage capacity, worker access and material flow interact. Racking installed without considering stock dimensions, equipment clearances or picking routes can create bottlenecks and increase handling time, potentially costing more in daily operations than the storage capacity it adds.
For warehouse managers, the challenge lies not just in having racking but in strategically designing your warehouse layout to maximize both storage space and worker productivity. With two primary approaches to racking layout design—Space Optimization and Worker Optimization—the choices you make can significantly impact your bottom line and employee satisfaction. This article explores these approaches and their implications for warehouse operations.
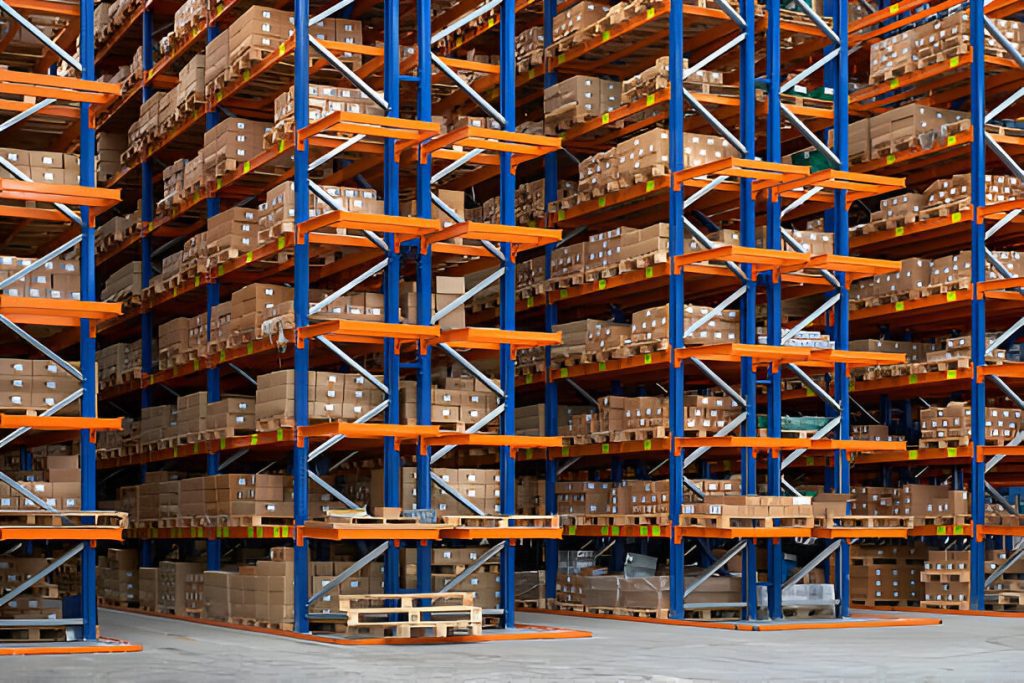
What is a Space-Optimized Warehouse Layout?
A space-optimized warehouse layout aims to increase usable storage within the existing footprint. Any gain depends on stock dimensions, access requirements, equipment and the approved layout; more pallet positions alone do not establish faster operations.
Benefits of Space Optimization:
- Higher Storage Capacity: Compare the safe usable pallet positions in each proposed layout using the same stock profile. Extra positions are useful only if loading, retrieval and replenishment can still meet your operating needs.
- Cost Savings: Using the existing building more effectively may defer an expansion. Compare that potential saving with installation, handling equipment and ongoing operating costs before choosing a denser system.
- Better Inventory Management: Designated storage locations support stock identification and counting. Inventory accuracy also depends on labelling, stock records and how consistently the team follows its procedures.
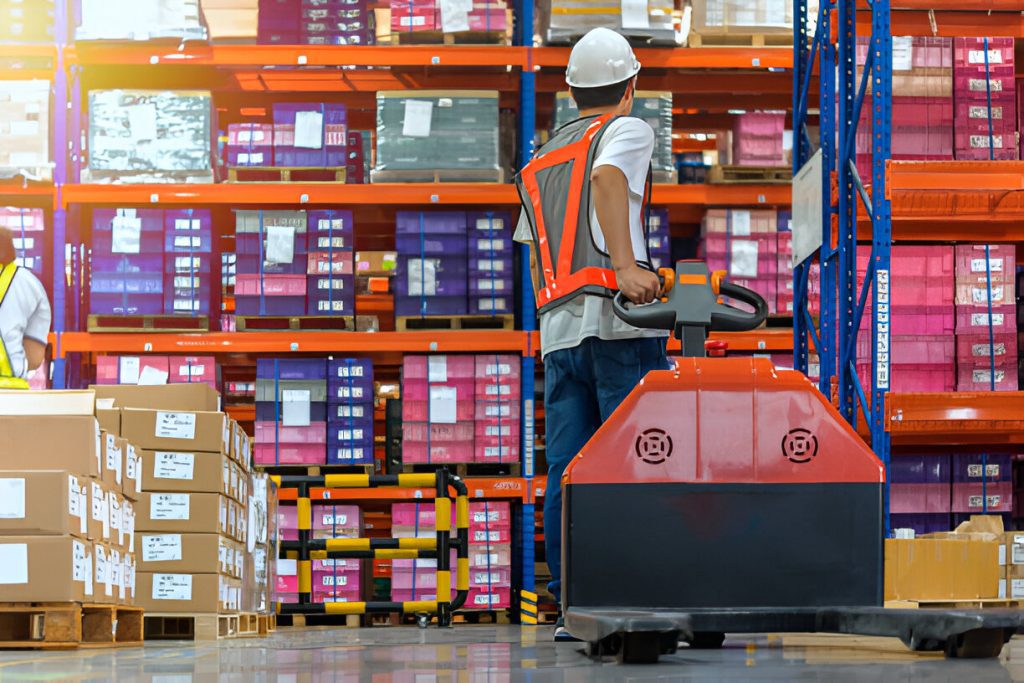
What is a Worker-Optimized Warehouse Layout?
A worker-optimized warehouse layout considers how staff pick, replenish and move goods. Plan suitable pick heights, handling methods and clear access routes alongside storage capacity; any shelving adjustment must remain within the supplier-approved configuration.
Benefits of Worker Optimization:
- Increased Productivity: Easier access and shorter travel routes may reduce handling time. Measure complete picking and replenishment cycles against the same order mix to assess the actual effect.
- Worker Feedback: Ask staff where reaching, lifting, congestion or repeated travel causes difficulties. Use that feedback to assess the proposed layout rather than assuming it will improve morale or staff retention.
- Safer Movement: Plan how people and handling equipment will circulate, including separation, crossings and visibility. Keep access and emergency routes clear and assess the site-specific risks before implementation.
Which Approach Delivers the Best Warehouse Layout?
In practice, storage density and worker efficiency are not opposing goals. A well-designed layout addresses both together: choosing a racking type and aisle configuration that fits your stock profile (pallet dimensions, weights, SKU count and rotation speed) while maintaining the equipment clearances and pedestrian routes your operation requires. The right balance depends on your specific inventory, handling equipment and throughput targets, which is why a site-specific assessment matters more than a fixed rule.
How to Optimize a Warehouse Layout: Best Practices
Here are some best practices to help you create an effective warehouse layout:
- Conduct Needs Assessments: Evaluate your warehouse’s storage needs in terms of pallet dimensions, unit weights, SKU count and stock rotation speed. Map how your team moves through the space, what equipment they use and where bottlenecks occur. Industry guidance on setting up warehouse racking recommends assessing space, throughput, stock characteristics and handling equipment as separate planning stages (general reference; actual design is subject to your site requirements).
- Engage Workers in Planning: Your employees are on the front lines. Their insights can reveal pain points you might not be aware of, leading to a layout that works for everyone.
- Evaluate Racking Options: Choose racking systems that align with your layout goals. Consider how each configuration affects both storage density and the clearances required by your forklifts or order pickers, including turning radii and load heights. Workplace transport guidance highlights the importance of suitable vehicle and pedestrian routes, separation of traffic flows and clear crossing points (general reference; apply to your own site conditions).
- Calculate Costs: Keep a close eye on costs associated with your racking systems, including the racking itself, installation, any required equipment changes, staff training and ongoing maintenance, to ensure you are staying within budget.
Planning Examples: Warehouse Layout Scenarios
- Space-Optimized Scenario: For planning only, consider a distributor holding multiple pallets of the same SKU or batch. A drive-in option could be compared with the current layout for usable pallet positions, access and stock rotation. A single-ended drive-in lane normally follows last-in-first-out access, so pallets at the front must be removed before those behind them. Check that this suits the product and batch requirements. Calculate capacity from an approved layout with actual pallet dimensions, clearances and handling equipment, then test the proposed loading and retrieval sequence against peak demand.
- Worker-Optimized Scenario: For planning only, consider a fulfillment operation with many SKUs and frequent picks. It could compare its current pick locations with a revised arrangement that groups frequently picked items and provides suitable access. Record travel, picking and replenishment time for comparable orders, along with errors and congestion. The comparison supplies a basis for deciding whether the change is worthwhile; it is not a measured customer result or a promised productivity gain.
What Would Hyperack Do Instead?
At Hyperack, we get it—choosing space optimization or worker comfort is no small feat. That’s why we leverage multiple options to create tailored racking warehouse layouts that meet both needs. Here’s what makes us different:
- Expertise: We dive deep into your warehouse space to determine the best racking configurations tailored to your needs.
- High-Tech Solutions: Our AutoCAD designs help you review storage positions and access requirements together before selecting a layout.
- Side-by-Side Comparisons: Our planning process allows you to compare layout options easily, helping you make informed decisions.
- Compare layout costs: Check that both proposals use the same site measurements, stock profile and cost assumptions. Compare usable storage positions alongside the cost of racking, installation, equipment changes and ongoing operation.
- Customization: Our custom racking systems are built to meet your unique requirements, ensuring the best approach for your facility.
With Hyperack, you can consider storage efficiency and worker access together—we help you plan for both.
Conclusion
An effective warehouse layout considers storage capacity, access and daily workflow together. Start with the stock profile and operating requirements, compare layouts on the same basis, and measure the results of any change. This provides a clearer basis for choosing a layout than a universal percentage improvement.
Before asking for a layout, use the stockroom measurement guide to record your clear height, access points and obstructions. Then contact Hyperack to discuss the site assessment and AutoCAD drawings for your project.